Tea Extras Cakes Brownies Scones Sandwiches Muffins Sandwiches Other Image Map
Showing posts with label instruction. Show all posts

May 23, 2012

How to: reverse shell decorating technique


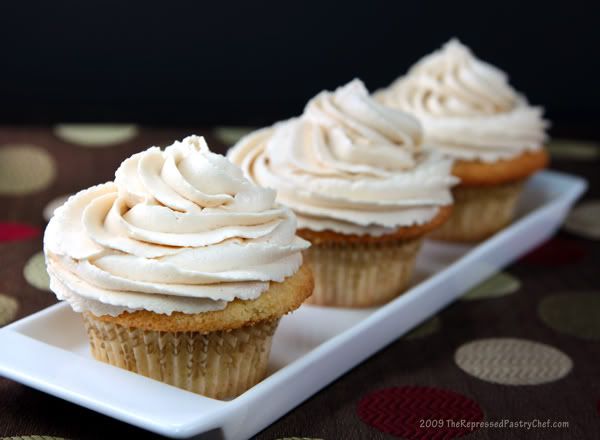
Reverse shells look spectacular as top and bottom borders and as framed areas on your cake.


What you need:
- Buttercream icing
- A decorating bag
- Tip 21 


Instruction
Step 1: Fit the decorating bag with tip 21 and fill 1/2 full with medium consistency icing. Hold the decorating bag 45°; the tip should be slightly above the surface. Squeeze bag to form a shell. As you begin to form a shell, squeeze hard, letting the icing fan out. To form curve, lift tip up and over the shell as you move tip from 9:00 (right or left handed) to 12:00 to 6:00. 


Step 2: Relax pressure, lower tip. Pull tip straight towards yourself at 6:00 to form tail.

Step 3: Repeat with another shell, curving from 3:00 (right- or left handed) to 12:00 to 6:00. To continue the reverse shell border, pipe a chain of swirling reverse shells, with the fan end of each new shell covering the tail of the previous shell. If you are making the border on a round cake, turn the cake as you go so that the back of the bag is at 6:00 and you are working towards yourself.


Apr 22, 2012

Butter Cream (icing) recipe


This buttercream icing recipe is perfect for spreading cakes of decorating. Follow this instruction to make the ideal consistency you need. 
Ingredients:
  • 1/2 cup solid vegetable shortening
  • 1/2 cup (1 stick) butter or margarine softened
  • 1 teaspoon clear vanilla extract
    (I useally don't use this because most of the time, the cakes are already sweet enough with the fillings etc.) 
  • 4 cups sifted confectioners' sugar (approximately 1 lb.)
  • 2 tablespoons milk
Makes about 3 cupes of icing

Instructions:

step 1

Put the cream shortening and butter in a large bowl and mix this with the electric mixer. cream. Add some vanilla if you want.
Gradually add sugar, one cup at a time, beating well on medium speed. Scrape sides and bottom of bowl often.
When all sugar has been mixed in, icing will appear dry. Add a bit milk and beat at medium speed until the cream is light and fluffy.
Keep bowl covered with a damp cloth until ready to use.

step 2

For best results, keep icing bowl in refrigerator when not in use. Refrigerated in an airtight container, this icing can be stored 2 weeks. Rewhip before using.

step 3

For thin (spreading) consistency icing, add 2 tablespoons light corn syrup, water or milk.